11.23.2010

Hamamelis, more!

Uh. So, I finished the quilt top. It's hugely big gigantic. Husband stood on a chair and held it up to the ceiling and the bottom dragged on the floor. I made a quilt taller than the kitchen. O..kay. Hm. It's a bit like adopting a gorilla. You're like yay, a gorilla! This will be awesome! And then the gorilla arrives and you're like, oh, hey, gorilla. Here are some bananas. ... Shit.

So, no progress has been made on the backing for the quilt. Instead, for some reason, I have devised plans for 2-3 mini (and by "mini" I mean "crib-sized or slightly bigger" (you know, the cotton-top tamarins in our quilting:primates analogy (why am I talking about gorillas and monkeys? why?!))) on which I will be able to practice my free-motion quilting skillz and which I may someday be able to finish, unlike that gorilla.

The lesson: the number 94 fits easily onto a page, but in inches it's actually kind of a lot. Write that down.

I did take a picture of the quilt top, and if I ever figure out how to baste the thing without moving all of the furniture out of the bedroom or banning everyone from the kitchen for 8 hours, y'all'll be the first to know.

In other news, news less embarrassingly revealing of my utter lack of spatial ability, I finished Hamamelis! Yayyyy!


I heart this pattern, truly. It was fun, and garter-stitchy, and I love garter stitch, and I could actually read the lace, and I like the straight edge. Scallop-y points just really don't do it for me, which I hadn't really realized until I saw this pattern.

That yarn is Fleece Artist Merino 2/6 in the Peridot colorway, with a wee bit of Louet Gems Pearl for the edging. I think that the variegation is more obvious in the pictures than it is in real life.

I'm still open to suggestions on how to back this sucker.

Anyone?

Beuller?

11.10.2010

Quilt big or go home

The huge quilt project I'm now immersed in is a checkerboard quilt that I've been planning for years, ever since I bought a "Double +"-sized Quilter's Dream Cotton batting years ago at my LQS.
Fabric is mostly stash fabrics, from JoAnn's and various LQSes, plus a few prints from Hawthorne Threads, ConnectingThreads, and the Fabric Shack.


Don't those piles look all neat and organized, stacked and labeled so? It's just trickery. Getting a billion 4x4 squares sewn into one big piece has nearly killed me, and I'm not even done yet. The up side is that my seam ripper is in no danger of an existential crisis anytime soon.

I do have part of the top finished, and it's a) huge and b) looking a bit stark.

The top might be finished by tomorrow, if I can find the will to go on with it. Then we have the question of what to do with the back. I got a big, big chunk of Kona Cotton in Natural, which I initially planned to make the plain checkerboard pieces out of, but when I put it next to my color fabrics, it didn't really work as well as white would. So I got some muslin from JoAnn's for the white on the front, and am now considering using the Natural for the backing. I also got a bit of Kona Cotton in Teal for the binding, before realizing that it doesn't match a single shade on the front of the quilt.

I'd like to do a pieced backing like many of the quilts at Oh, Franson! have, but I'm at a loss for what would look good. Have more white, have a chunk of Natural, have fabric from most, but not all, of the prints on the front left over. Any suggestions?

11.07.2010

Hamamelis!

I've been knitting for close to seven years, and many of those projects have involved reading knitting charts, which I thought I was proficient at. Then a few days ago, I realized that I'd been reading them wrong for as long as I've been reading them, but it never messed up my knitting because every chart I've ever used was mirrored.

Apparently you're supposed to read right-to-left and then once you get to the left, go up one row and read that one left-to-right. Which really does make sense in terms of the piece of fabric you're creating. I had been reading every row right-to-left, which works when you're reading a chart that only shows the right-side rows, assuming that the wrong-side rows are resting rows.


The little beauty that taught me this lesson is the Hamamelis Shawl, which, because it involves some garter stitch, has patterning on both sides.

A couple months ago, I started knitting this, then put it down for a bit to work on other stuff. When I came back to it, I hadn't even entered it on Ravelry, which meant that I probably didn't have any notes on where I'd left off. It was still pretty small, so I assumed (stupidly, of course) that I was at the end of the first chart.

I was wrong, but right enough. I needed to start the second chart, only it was the second repeat of the second chart. This, on top of my sudden inability to distinguish the concept "six" from the concept "seven," made for several hours of ripping and reknitting the first rows of chart 2, as well as the last couple of rows that I'd done months ago.

This ripping and reknitting also led to the realization that I'd been reading charts wrong, but then that led to the realization that it didn't matter how I was reading the charts because they're mirrored, and the real problem was that 6 != 7.

Ta-da! Please tune in next week when I run out of yarn because I've neglected to check gauge.

11.06.2010

Dog Blanket

Mr. Stink Dog and his partner in crime are not used to wood floors. He's a talker anyway, but Husband believes that when he grunts as he sits down on these hard floors, it means that his hips are hurting him.

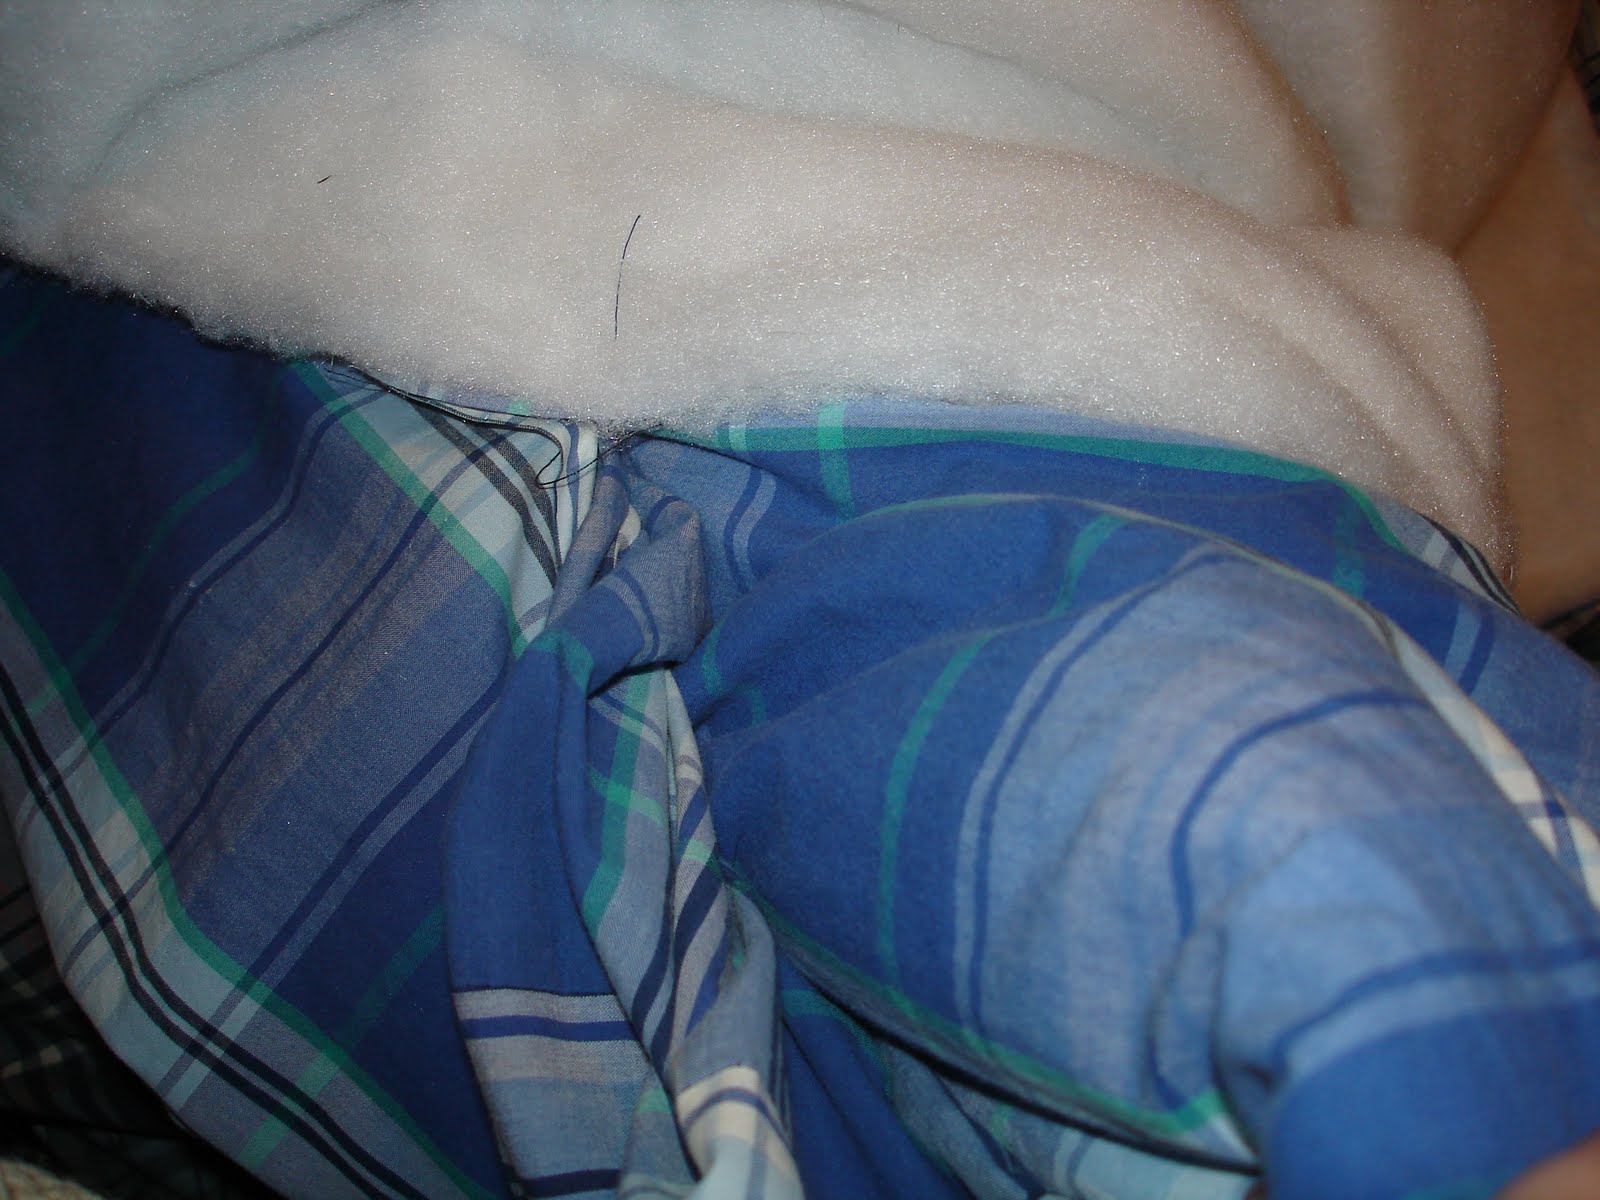
Awhile ago, I used a bunch of fabric from a dead comforter cover to make a little blanket for the dogs. There was still a bunch of fabric left over, taking up room in one of my sewing bins, so I set about making another, one that would be thicker and warmer. One 50% off JoAnns coupon later, I was armed with crib-sized high-loft polyester batting and a crazy plan.


This quilt could be bigger than the last, based on the size of the batting, which was 45" x 60". I found the biggest intact piece of fabric that I could, and was surprised to be able to get a whole side out of it.


The second side had to be pieced, which was difficult to do with such big pieces. As before, I wanted to patch up some little holes or weak spots (proto-holes) in the fabric, but sewing patches through all three layers of quilt seemed more difficult this time, because of the high-loft batting. This was also an opportunity to add a bit more padding, as well as to use up bits of batting I've been squirreling away for years.


I covered pieces of batting (or in one case, thick felt) with pieces of fabric cut about 1/2" bigger all around, folded the edges under, and used a zigzag stitch along the edge to attach them to the quilt top and bottom in the right places.


I really liked the way this came out, all zigzaggy and patchy patchy.


Then it was time to rassle with the batting. I was excited about the batting, because it was going to produce a comfy, super-warm quilt. Getting it out of the package and unrolled was about when I started realizing that high-loft polyester batting is evil.

I set everything up in order (bottom layer face-up, top layer face-down, then the batting), trimmed the last edge of the pieced side along with the batting, and things started to seem to go off the rails at this point.


Eventually the three layers were pinned together.


High-loft batting probably is easier to work with when it's sandwiched between a couple layers of fabric as in a traditional bound quilt. The envelope construction was probably faster than binding would have been, but it was painful. Unless I pushed all the fibers down under the foot, the edges of the foot would catch on the top bit and pull the batting apart. And the pins basically disappeared into it. Bleh.

Left a turning hole, turned it right-side out (also easier said than done), and hand-sewed the opening closed.


Then I machine-sewed around the edges, about half an inch in, which was not the most successful maneuver because the main seam isn't anywhere near centered, but at least the edges were tacked down. It was at this point that I started aiming a bit lower for the project, because the unpleasantness of accepting a less-than-perfect-looking edge seemed a better alternative than ripping it out and doing it again.

Then. Oh, then.

The first quilt I'd quilted by sewing patches through, quilting random squares over the plaid pattern here and there, and then quilting a couple straight lines from one edge of the quilt to the other. The name of this game, I thought, was getting the quilting done quickly because the floors are getting pretty cold and Mr. Stink Dog shouldn't have to endure hip pain all the time. So I started to just quilt a straight line from one end to the other, and quickly learned why tying is recommended for high-loft batting quilts.

This stuff slides all over the place. Even with a walking foot and pins everywhere, this stuff shifts.

So I ripped that out and regrouped. Decided to quilt small squares in the plaid pattern. Pinned appropriately, then fought with the first five or so squares because getting to the outer edge of the quilt required having the rest of it bunched up between the machine and needle.


Then I took a break to price middy-arm sewing machines and dream about a mythical sewing machine that's not on a frame, but is just a bit wider. Got smarter and started quilting half a square at a time, so that I could always be working on the outer edge. (This did leave me with four thread ends to deal with instead of two, but the effects of that were less immediate than the unpleasantness of trying to jam the quilt into the machine to do all four sides in one go.)

After doing a bunch more squares, I quit for the night. The next night I did a bunch more, and quit again, baffled and enraged that I wasn't done with the damn squares yet.

Then the next night (that I worked on it... I may have taken an angry break), I finished the damn squares. Held it up triumphantly and immediately saw that it wouldn't be a sufficient amount of quilting.

That's when I decided that regular tying, rather than the modified tying I'd made up (quilting independent little islands) would be the way to get this finished and quilted sufficiently to maybe keep its shape for a while. So, with three strands of embroidery thread and over the course of many, many episodes of House, I put ties at most of the intersections of the plaid that hadn't been quilted around and other random places that seemed to not have enough quilting near them. I alternated tying and securing/burying the ends of the quilting that were just everywhere. I probably could have tied several more points on the quilt, but I'd been feeling done with the project for a while, so I called it quits.


Usually when I finish a project, I'm pretty excited to have this new thing and proud to put it to use. When I finished this one, I was just gleeful to not have to work on it anymore.


It was gratifying, though, when both dogs, given the opportunity, laid down on it immediately. Stink was disappointed that it did not come with a turkey dinner, including stuffing, cranberry sauce, three vegetable sides, and home-baked rolls, but he'll get over it eventually.

The worst part of this story is that while I spent hours watching House and tying it, I realized how warm and delightful this blanket is. And I kind of want to make one for the humans. Maybe if I just start with the plan to tie it, the unpleasantness won't be a surprising unpleasantness.

10.24.2010

Drowning in projects

I'm all over the place right now. Finishing up a dog quilt, which I totally want to steal for myself, and which was the biggest pain in the ear to make, and which just won't be finished already. This:


is the most pampered dog in the universe, and he eagerly awaits his quilt. It's taken about 17 hours more than I budgeted for.

Starting a huuuge quilt project, which is new and exciting and fun and I can't wait to go work on it more.


Have two shawls on the needles, one barely started and one almost finished, and I haven't touched either in months, and I want them both done (plus, oh, six more?) before Dec. 31 for 10 Shawls in 2010.

Project Slipper Storm is nearly done, just need to find the time to clean up the fuzzies and put puffy paint on the soles, then they can go on their merry way.

Then occasionally I think, "Christmas gifts?" And then I don't get very far until I encounter a system error and have to reboot.

Then there's the pair of socks where I just finished the first one, and I'm pretty sure I did the heel over two too few stitches the first time, which, whatever, it worked out in the end, but now I'm at the second heel and can't find anything I wrote down for heel turn instructions for the first one. So yeah, I'll just wing it, that's fine, I mean it will be fine, hopefully, maybe I should look around some more for some notes on that... And that's why I've stalled at that point.

This last one is a direct result of simply casting on more socks than I really have needles for. If I'd had a free set of needles, I'd have done the second heel turn right after the first and wouldn't be all confused with what should be a very simple sock.

Oh yeah, and then the other morning I went outside and my hands froze and fell off and I realized that fingerless gloves are simply not going to cut it this winter, no sir. And then I conveniently forgot all the muttering and cursing that goes into felting stuff and decided that now is the best possible time to design from scratch some felted mittens. So in the last week I've had many philosophical discussions with myself regarding thumb gussets, and, to my disappointment, after taking measurements, doing calculations of percentages, and drawing schematics, I am going to just do what my gut tells me to do in terms of increasing for the thumb. This will probably end in disaster, or at least weirdly-shaped mittens.

And at this rate they probably won't be done until next June. Aargh.

10.18.2010

Work smarter, not dumber

Once I can mustah up some more gustah, I will write a post that includes pictures and paragraphs. It will be about the terrible things that happen when one decides to use high-loft polyester batting as well as grandiose and daunting plans for a bed quilt. And a brillion felted slippers.

10.09.2010

I am not a hunter.

But I think I now understand the urge to stuff something you've conquered and mount it on your wall. Behold, Juno Regina:

2010 10-3 002

And hey, here I am wandering around the yard:

2010 10-3 004

For a brief bit there, I wished for some kind of ball or gala to attend, because without one this will quickly be scrunched up and worn as a scarf. It will be a great scarf, though.

And then, before I even realized what had come over me, I cast on for a hat. A nice simple hat in worsted weight yarn.

2010 10-3 013

And then, just as I had noticed what was happening, I finished it:

2010 10-8 005

Et voila, a lovely and warm beret. From Knitty, the Brambles Beret in River Twist from Mountain Colors in the Whitewater River colorway. Used .77 skeins, with enough left over for some coordinating scarf or mittens. Maybe they'll appear when I come to after finishing Icarus...

9.28.2010

Oh, fu--

I'm knitting along happily, so happily, too happily on Juno Regina. Stop for the first time to check if I'm close to starting the last set of charts, and see - shazam! I'm right there! Don't have to frog at all! Don't need to keep knitting! Perfect timing! Start the charts. Takes five tries, but I do the first row right. And then I notice that the chart for the first and last stitches of each row looks a little bit more like a checkerboard than I remember.

And I've been doing the leading and ending stitches in garter for... check the shawl... since I finished the charts for the first ends.

And before that... check the shawl... I was doing seed stitch.


LOUD NOISES. PROFANE LANGUAGE.

That moment of realization. That moment where the evidence six inches from your nose says to you, hey, you've just f*#@$! up *months* worth of knitting. AHHHHHHHHH.

So, wait. Can I live with the ends in seed stitch and the middle in garter? (And keep in mind, this is just the edge stitches. Barely noticeable.) Yes. Theoretically I can. I could just start the seed stitch again and move on with my life.

But upon further reflection, I realize that I've been doing garter stitch in all purls (not all knits), and the row was supposed to start and end with a purl, so theoretically I should be able to drop the column of middle stitches all the way down the edge and then pick up those stitches in seed stitch. Not ideal, but didn't EZ do that sort of thing to put in false seams after knitting a whole stockinette sweater body in the round? I'm pretty sure she did.

Alright. Rock and roll, I'm McGuyver, hand me a locking stitch marker and we're going in. I take the first stitch off, the edge stitch, and trap it with a stitch marker, then slide all the other stitches down to the safe end of the needle. (I'm confident I can handle the middle stitch, but edge stitches do not play nice with me. If I drop an edge stitch and it goes anywhere, I am utterly screwed. I know this about myself.)

Then I drop down the middle stitch for FEET and FEET of knitting.


And then I think... wait, am I actually right that picking up the middle stitch in seed will work? Will that produce seed stitch or a weird kind of ribbing?

Panic sets in.

AAAAHHHHHHHHHH.

Wait, brain says. Before you commit to a panic attack, just try picking it up in seed.

So I did. And it worked.

So I just spent an HOUR picking up a stitch for FEET and FEET of knitting.

And that was just the first side.


Things We Have Learned Today

  1. Okay, your intuitive grasp of the relationship of seed stitch to garter is surprisingly good.
  2. Your explicit grasp of the relationship of seed to garter is alarmingly bad.
  3. This means you should probably never try to explain it to anyone.
  4. Maybe, you should try something out on, say, 3 rows of stitches, rather than 300, if you're not sure it's going to work.
  5. Looking at the pattern at least once every three months might be a good policy too.
My latest plan is to focus on one WIP at a time until my plate is a little more clear. Well, I'll try. Yeah.

9.16.2010

Talk about socks

We're welcoming more socks to the family. First, stockinette socks in Knit Picks Felici Sport in Sorcery:

These are for Mom - 60 sts on 2.5mm (size 1 or 1 1/2, depending on who you ask), some 2x1 ribbing at the top, long-ish heel flaps. For some reason before I touched the Felici Sport, I imagined it to be on the rough side. Not so. It's very soft, and the plies separate easily and it knits like butter. Lovely.


These are Jules socks in Patons FX, colorway Clover, over 64 sts on size 1 (2.25mm) needles. Lots of failing to follow the pattern and frogging, but frogging is bothering me less and less. I went well over 2 skeins, and I think you can kind of tell on the soles where I switched to a new skein. The slip-rib pattern on the top of the sock hides the transition pretty well, as does the overall nature of the color changing.

Right now sock-knitting is fitting into my life as something that fills in the cracks and doesn't get too much attention of its own. This is also coming at a time when I've got an awesome new sock book (thanks, Mom!), New Pathways for Sock Knitters, to explore and the nagging sense that my stash of sock yarn should really be used on intricate, more difficult, and attention-requiring patterns, rather than simple stockinette or rib or a repeat of a pattern I've already done. I also have a nice, long KP size 1 needle with which to try Magic Loop, as well as the 9" size 1 bamboo circ to try out. And a mile-long list of patterns I've been wanting to try out.

I guess what I'm saying is that I should really give some time to starting new sock projects. At the same time, I don't want to completely give in to that nagging feeling, because I actually deeply love knitting plain-ish socks.

9.06.2010

Pouches! And a sort-of tutorial.

Knitting and creating in general basically came to a screeching standstill while we moved house. Now that we're here and settled in a bit, the quilting bug has come back with a vengeance, and I've finished up a wall quilt that only needed some binding and a hanging sleeve, and yesterday I made up a couple of pouches intended to carry the little Garmin navigational systems that my brother got various family members for Christmas last year.

Quilted Pouch Tutorial

You will need:

Exterior fabric
Interior fabric (lining)
A sewing machine or mad hand-sewing skillz
Thread to match exterior, interior, both, or neither
A zipper (I used a polyester Coats one, which are ubiquitous at craft stores)
Batting
Cutting tools - I used a self-healing mat and rotary cutter, as well as two sewing rulers
A non-machine needle and passable hand-sewing skills (just for sewing the turning hole closed)


My goal was a pouch that would both keep the cord stored with the main piece as well as that would offer a little protection from bumps and scratches and theivery. To that end, I wanted to use batting rather than interfacing. (Pictured here is Warm & Natural batting, but I ended up using some leftover Heirloom (I think) batting, probably 100% cotton.

I didn't find a tutorial for exactly what I was looking for, so I based my creation off of this tutorial from Pin and Paper as well as a dash of this tutorial from Make it Modern and this one from Skip to My Lou. The sewing exterior parts together and interior parts together came from the first and last one, and the way of handling the bottom corners came from Make it Modern, for the record.

I found it very hard to wrap my brain around the construction -- which part is facing up, which is facing down, why, etc. If you also have a problem with this, it may be helpful to think of this as similar to the "envelope" construction used in some quilts, where you pile up the backing (face-up), then the front (face-down), then the batting (doesn't matter which side is which), sew around, then turn through a turning hole. You're not doing exactly that, because at no point do you sew the lining to the exterior, but when you're attaching everything to the zipper, this is sort of the model you follow.


My zippers were 7" long, so I went with pieces of fabric for the exterior and lining that were all 7 1/2"x7 1/2" (to include a 1/4" seam allowance). If you happen to want to make a carrier for a Garmin Nuvi 260W and its cord, you could probably get away with the pouch being 2" shorter. You can make just about any size you want, provided that your width isn't more than the real width of your zipper. (It's also easy to shorten a zipper, so if you want something smaller than your zipper, just follow the instructions that came with it on how to shorten it.)


I hesitate to write up official tutorials for things, because that implies that I think of myself as remotely qualified to advise people on how to do stuff with sewing. I really don't, so please understand that this is what I did and it worked for me without much fudging or cursing (although there was some cursing).

That said, because I was going off on my own in terms of the batting, I was pretty confident that overlapping 2 layers of batting would give me a lot of bulk at the seams that a) I didn't want and b) was probably unnecessary. So, I cut the original squares for batting to 7"x7", which, I figured, would result in approximate meeting of the batting pieces right at the seam. Then I placed each batting square on top of the wrong side of each exterior square, 1/4" from each side, and pinned them at the corners.


While ideally the whole pouch would be quilted (exterior, batting, and lining), the inside/outside construction process doesn't really allow for this. Short of covering the seams with something, as in this tutorial, I couldn't think of a way to quilt through everything and have the seams be neat or hidden. So I just quilted the outside to the batting, using a walking foot (because that's what happened to be on my machine at the time) and a whimsically not-exactly-straight back-and-forth quilting pattern. Because whimsy is very important. For each square, I started at what would become the upper-left edge, quilted to a bit before what would become the 1/4" seam allowance, turned 90 degrees, quilted for an inch-ish, and turned again to go back toward the other edge, thus making my way down the block.


Apparently I didn't take pictures of this middle part. (So helpful! Sorry. The tutorials I linked above have good pictures of how to sew each part to the zipper and then assemble the whole bag.)

Basically, what you do is put the lining face-up on the table, then put the zipper face-up on top of that. Then you place the batting/exterior on top of that, matching the top edges, and with the batting part facing up. You're going to sew all of these parts together 1/4" of an inch from the top, and you're actually working on the side of the zipper that's uppermost at this point. I used 4-5 pins across, and opened the zipper partway, then paused in my sewing to move the zipper out of the way when the foot got close to it but wasn't going over it yet. (You stop with the needle down, through all the layers -- that's very important -- then lift up the foot and push the zipper under it in whichever direction it needs to go. This was tricky sometimes - don't force it too much, because it's mostly about needing to find the angle that will get the zipper to move.)

The batting spread out a bit during quilting, but in general when you sew the pieces together at this part, you'll be working right along the edge of the batting.

Once you've sewn across this, flip the interior and exterior piece toward each other, revealing the zipper, and press them open -- I just finger-pressed -- then sew through all the layers along the zipper. I didn't use a 1/4 seam allowance for this - just stayed pretty close to the edge of the fabric.

Repeat this process for the other side - lining face-up, zipper, exterior face-down, then finger-press and sew that side along the zipper.

If you want to add a little handle, make it now. (I added a handle to one pouch.) Decide how wide/long you want it to be, then double the width and add 1/2" to both the width and length for seam allowance. (I wanted it to end up being about 1 1/4" across, and 7" long (halved, of course, once it's attached), so I cut a piece of exterior fabric 3"x7 1/2".) Fold this piece in half lengthwise, wrong side out, and sew along the long edge 1/4" in. I finger-pressed this seam open, then turned right-side-out and sewed two lines lengthwise 3/8" in from either side. My 7" long handle, once attached, is too little to go over my wrist, so if you want to make this a wristlet, make sure to measure to figure out how long it should be.

Then you flip the interiors together (wrong sides out) and the exteriors/battings together (wrong sides out). If you're adding a handle, fold it so that the sides of the handle you want facing out are currently facing out (i.e., the seam faces in or to the side, depending on your preference) and insert it between the exterior pieces before pinning everything. I matched the edges of the handle up with the edges of the exterior fabric, and placed it right at the top edge, just below the zipper.

Be sure that before you start pinning everything, the zipper is at least 3/4ths of the way open.

Pin all the way around the rectangle, half of which is your exterior and half of which is your interior. Leave about 2" of the bottom un-pinned (and un-sewn) so that you can turn this rectangle inside-out once you're done sewing.

I followed the tutorial's directions to pin the zipper toward the lining. This was hard to get my brain around, but I took it to mean that the edges of the zipper should be pinned against the lining rather than the exterior part.

When I sewed around the rectangle, I went very carefully over the zipper, because I've bent the crap out of a needle before when it hit an unyielding piece of zipper. I actually hand-walk the machine for these parts and go back and forth over them at least twice.


If you want your bag to stand up, don't do what I did on my first bag and get all excited that you're done with the hard part, turn everything right-side-out, and sew the turning hole closed. Now is the time to square off your corners.

For both the exterior parts and interior parts, you need to sew a seam perpendicular to the seams that are currently there in the corners. Some tutorials have you cut notches in the corners, but I prefer the mark-sew-cut way, which is described nicely in the Make it Modern tutorial linked above. Line up the bottom seam and the side seam, as in the photo, and use your ruler to determine where the corner is 2" across. Mark that line, then sew across it. Cut the corner off, leaving about a 1/4" allowance. Using pinking shears for this step is a good idea, if you have them.

Repeat this step for each bottom corner, two on the lining and two on the exterior. You may want to go a wee touch over 2" for the lining, so that it's just slightly smaller than the exterior. I didn't, though, and it worked just fine.

Now you're going to turn the whole shebang inside-out (or right-side-out, as the case may be) and using an itty-bitty whip stitch, sew the turning hole in the lining closed. Then push the lining down into the pouch and admire!


Here are my finished pouches -- the one on the left has the corners squared, and the one on the right doesn't.


Some gratuitous yay-I'm-done! shots:


I like this pouch because it says, "I am full of makeup and girlie things!" rather than "I am full of an expensive navigational device that you should steal!" And because I can leave it in the car, it prevents the Garmin cord from attacking me as I'm trying to get my wallet out at the grocery store. Win-win-win.

I will gladly answer questions about making this pouch, and if there are ways my tutorial could be clearer -- other than featuring pictures of the tricky parts (duhh) -- please feel free to contact me. I may not be so helpful, though, because generally I just wing stuff. If there is a great demand for pictures of the tricky parts, I'd be happy to make another pouch and actually document it. Just let me know. My e-mail is my Rav name at G mail.

8.01.2010

Let's just go ahead and re-name it Yarnday.

Instead of tending my knitting blog, I have been off gallivanting around and experiencing some Major! Life! Changes! recently, the least of which was a milestone birthday for which I, in what is becoming a tradition, received a honking pile of gorgeous yarn.

2010 8-1 011

I'm practically jealous of myself.

That's two Zauberball Lace skeins in the middle, Brombereen on the left and Fuchsienbeet on the right. Then on the far left is Malabrigo Lace in Water Green, three skeins. Above that is Hazel Knits Artisan Sock in Strawberry Lemonade, and immediately below that is Noro Kureyon Sock, colorway 219. On the far right is River Twist from Mountain Colors, colorway Whitewater River. Below the Zauberballs is a skein of Malabrigo Twist in Indecita, and below that is Socks that Rock Silkie in ST-1.

2010 8-1 030

Ah, and here it is again, the cheeky vamp. This was discovered on a trip to WEBS, and it was a shock, because if I'd known that WEBS stocked STR, I wouldn't have kept away for so long. Wonder when that happened.

I went a little crazy taking pictures of the Hazel Knits, too:

2010 8-1 023

Doesn't that look good enough to eat? I've got ideas for every skein except this one -- what could possibly be worthy of such gorgeous color? I've got to think of something that I will use every day, no matter the weather. And that will not be exposed to direct sunlight and that won't be subject to too much wear, so that it lasts forever.

I'm also excited about this little gift:

2010 8-1 039

that I suspect will take stockinette sock knitting to whole new levels of speed.

The problem with this glorious bounty is that I want to cast on every single skein NOW NOW NOW, but there's plenty on the needles already that needs attention. For instance, there's Ms. Shawl:

2010 6-26 001

who is just now ready to start on Chart 2, the first of the edging charts. Of course I read the note about how to eliminate repeats of the main section *after* completing the entire repeat I intended to make the last, and of course you're supposed to stop a little early so that the numbers match up for Chart 2. Doh. So that's all frogged and back on the needles and ready to go again.

Then there are two SIPs:

Jules:
2010 8-1 037

and Gentleman's Shooting Socks (for Other):
2010 8-1 040

Oh, and hey, last time I was here, I promised lots of FO shots of socks, so here they are:

Sock Knitters Anonymous May 2010 Mystery Socks, by Cookie A
2010 6-5 009

Classic Elite Summer Socks Solid, colorway Aster, 3 balls


Acorn Socks
2010 6-5 004

Blue Moon Fiber Arts Sock Candy, colorway Chocolate, 2 balls


Pyroclastic Socks
2010 6-16 004

Sunshine Yarns Soft Sock, colorway Grassroots Overdye

And a bad flashy shot of Snicket
2010 6-30 001

Koigu PM, colorway 1115.

Phew.