11.29.2010

Tree Quilt, a.k.a. Chinese Democracy

A long, long time ago, there was a me who could take fantastic weeklong art classes virtually free. That me took classes on Hawaiian Quilting and then on some something involving Guatemalan fabric and something else, who remembers.

That Guatemalan instructor sold us many strips of woven Guatemalan fabric and said "do this and this and this and then cut it like this." We students went off and did all that stuff, and the next time I looked up, all the other students had quilt tops that looked like the instructor's, and I had one that looked like this:


"Hrm," the instructor said. "Aren't trees supposed to be brown?"

"Hrmph," I said. "I am very creative." And also I don't have any brown fabric in my stash, apparently.

This quilt was conceived during a time when I was very interested in art quilting, which involves embellishment that also serves the function of quilting all three (or however many) layers together, as well as not caring what the back of the quilt looks like. (This was also very appealing.)

Once I tore myself away from the wonder of having a seven-foot work table all to myself, the quilt was packed up and worked on sporadically over the next five or so years.


I did lots of embroidery, most of which didn't make the final cut. I beaded the edges of the tree in carefully color-coordinated beads, and then learned the incredibly important lesson that any beading should be done last. Possibly even after binding. I hand-quilted the entire top, using three strands of embroidery thread and a gigantic needle, after seeing and liking an article about "big stitching" in a quilting magazine. This quilt was a staple at the Art Days I participated in over the last two years, which involved a bunch of artists in various media packing into my friend's awesome dining room and working for several hours at a clip every couple of weekends.

One of my favorite features of this quilt is that the tip of the rightmost tree branch is woven fabric rescued from a hippie-type wallet that I used until it fell apart.

This quilt has what appears to be an extra corner, does not lie "flat" in any sense of the word, the back is a horror show, and the pink stripes in the border on the bottom right bled onto the blue background fabric, but I love it. It's cheery, colorful, and weird, and other than the dog's nose, it's the first thing I see when I wake up in the morning. I'm so glad it's done and hanging up.

11.23.2010

Hamamelis, more!

Uh. So, I finished the quilt top. It's hugely big gigantic. Husband stood on a chair and held it up to the ceiling and the bottom dragged on the floor. I made a quilt taller than the kitchen. O..kay. Hm. It's a bit like adopting a gorilla. You're like yay, a gorilla! This will be awesome! And then the gorilla arrives and you're like, oh, hey, gorilla. Here are some bananas. ... Shit.

So, no progress has been made on the backing for the quilt. Instead, for some reason, I have devised plans for 2-3 mini (and by "mini" I mean "crib-sized or slightly bigger" (you know, the cotton-top tamarins in our quilting:primates analogy (why am I talking about gorillas and monkeys? why?!))) on which I will be able to practice my free-motion quilting skillz and which I may someday be able to finish, unlike that gorilla.

The lesson: the number 94 fits easily onto a page, but in inches it's actually kind of a lot. Write that down.

I did take a picture of the quilt top, and if I ever figure out how to baste the thing without moving all of the furniture out of the bedroom or banning everyone from the kitchen for 8 hours, y'all'll be the first to know.

In other news, news less embarrassingly revealing of my utter lack of spatial ability, I finished Hamamelis! Yayyyy!


I heart this pattern, truly. It was fun, and garter-stitchy, and I love garter stitch, and I could actually read the lace, and I like the straight edge. Scallop-y points just really don't do it for me, which I hadn't really realized until I saw this pattern.

That yarn is Fleece Artist Merino 2/6 in the Peridot colorway, with a wee bit of Louet Gems Pearl for the edging. I think that the variegation is more obvious in the pictures than it is in real life.

I'm still open to suggestions on how to back this sucker.

Anyone?

Beuller?

11.10.2010

Quilt big or go home

The huge quilt project I'm now immersed in is a checkerboard quilt that I've been planning for years, ever since I bought a "Double +"-sized Quilter's Dream Cotton batting years ago at my LQS.
Fabric is mostly stash fabrics, from JoAnn's and various LQSes, plus a few prints from Hawthorne Threads, ConnectingThreads, and the Fabric Shack.


Don't those piles look all neat and organized, stacked and labeled so? It's just trickery. Getting a billion 4x4 squares sewn into one big piece has nearly killed me, and I'm not even done yet. The up side is that my seam ripper is in no danger of an existential crisis anytime soon.

I do have part of the top finished, and it's a) huge and b) looking a bit stark.

The top might be finished by tomorrow, if I can find the will to go on with it. Then we have the question of what to do with the back. I got a big, big chunk of Kona Cotton in Natural, which I initially planned to make the plain checkerboard pieces out of, but when I put it next to my color fabrics, it didn't really work as well as white would. So I got some muslin from JoAnn's for the white on the front, and am now considering using the Natural for the backing. I also got a bit of Kona Cotton in Teal for the binding, before realizing that it doesn't match a single shade on the front of the quilt.

I'd like to do a pieced backing like many of the quilts at Oh, Franson! have, but I'm at a loss for what would look good. Have more white, have a chunk of Natural, have fabric from most, but not all, of the prints on the front left over. Any suggestions?

11.07.2010

Hamamelis!

I've been knitting for close to seven years, and many of those projects have involved reading knitting charts, which I thought I was proficient at. Then a few days ago, I realized that I'd been reading them wrong for as long as I've been reading them, but it never messed up my knitting because every chart I've ever used was mirrored.

Apparently you're supposed to read right-to-left and then once you get to the left, go up one row and read that one left-to-right. Which really does make sense in terms of the piece of fabric you're creating. I had been reading every row right-to-left, which works when you're reading a chart that only shows the right-side rows, assuming that the wrong-side rows are resting rows.


The little beauty that taught me this lesson is the Hamamelis Shawl, which, because it involves some garter stitch, has patterning on both sides.

A couple months ago, I started knitting this, then put it down for a bit to work on other stuff. When I came back to it, I hadn't even entered it on Ravelry, which meant that I probably didn't have any notes on where I'd left off. It was still pretty small, so I assumed (stupidly, of course) that I was at the end of the first chart.

I was wrong, but right enough. I needed to start the second chart, only it was the second repeat of the second chart. This, on top of my sudden inability to distinguish the concept "six" from the concept "seven," made for several hours of ripping and reknitting the first rows of chart 2, as well as the last couple of rows that I'd done months ago.

This ripping and reknitting also led to the realization that I'd been reading charts wrong, but then that led to the realization that it didn't matter how I was reading the charts because they're mirrored, and the real problem was that 6 != 7.

Ta-da! Please tune in next week when I run out of yarn because I've neglected to check gauge.

11.06.2010

Dog Blanket

Mr. Stink Dog and his partner in crime are not used to wood floors. He's a talker anyway, but Husband believes that when he grunts as he sits down on these hard floors, it means that his hips are hurting him.

Awhile ago, I used a bunch of fabric from a dead comforter cover to make a little blanket for the dogs. There was still a bunch of fabric left over, taking up room in one of my sewing bins, so I set about making another, one that would be thicker and warmer. One 50% off JoAnns coupon later, I was armed with crib-sized high-loft polyester batting and a crazy plan.


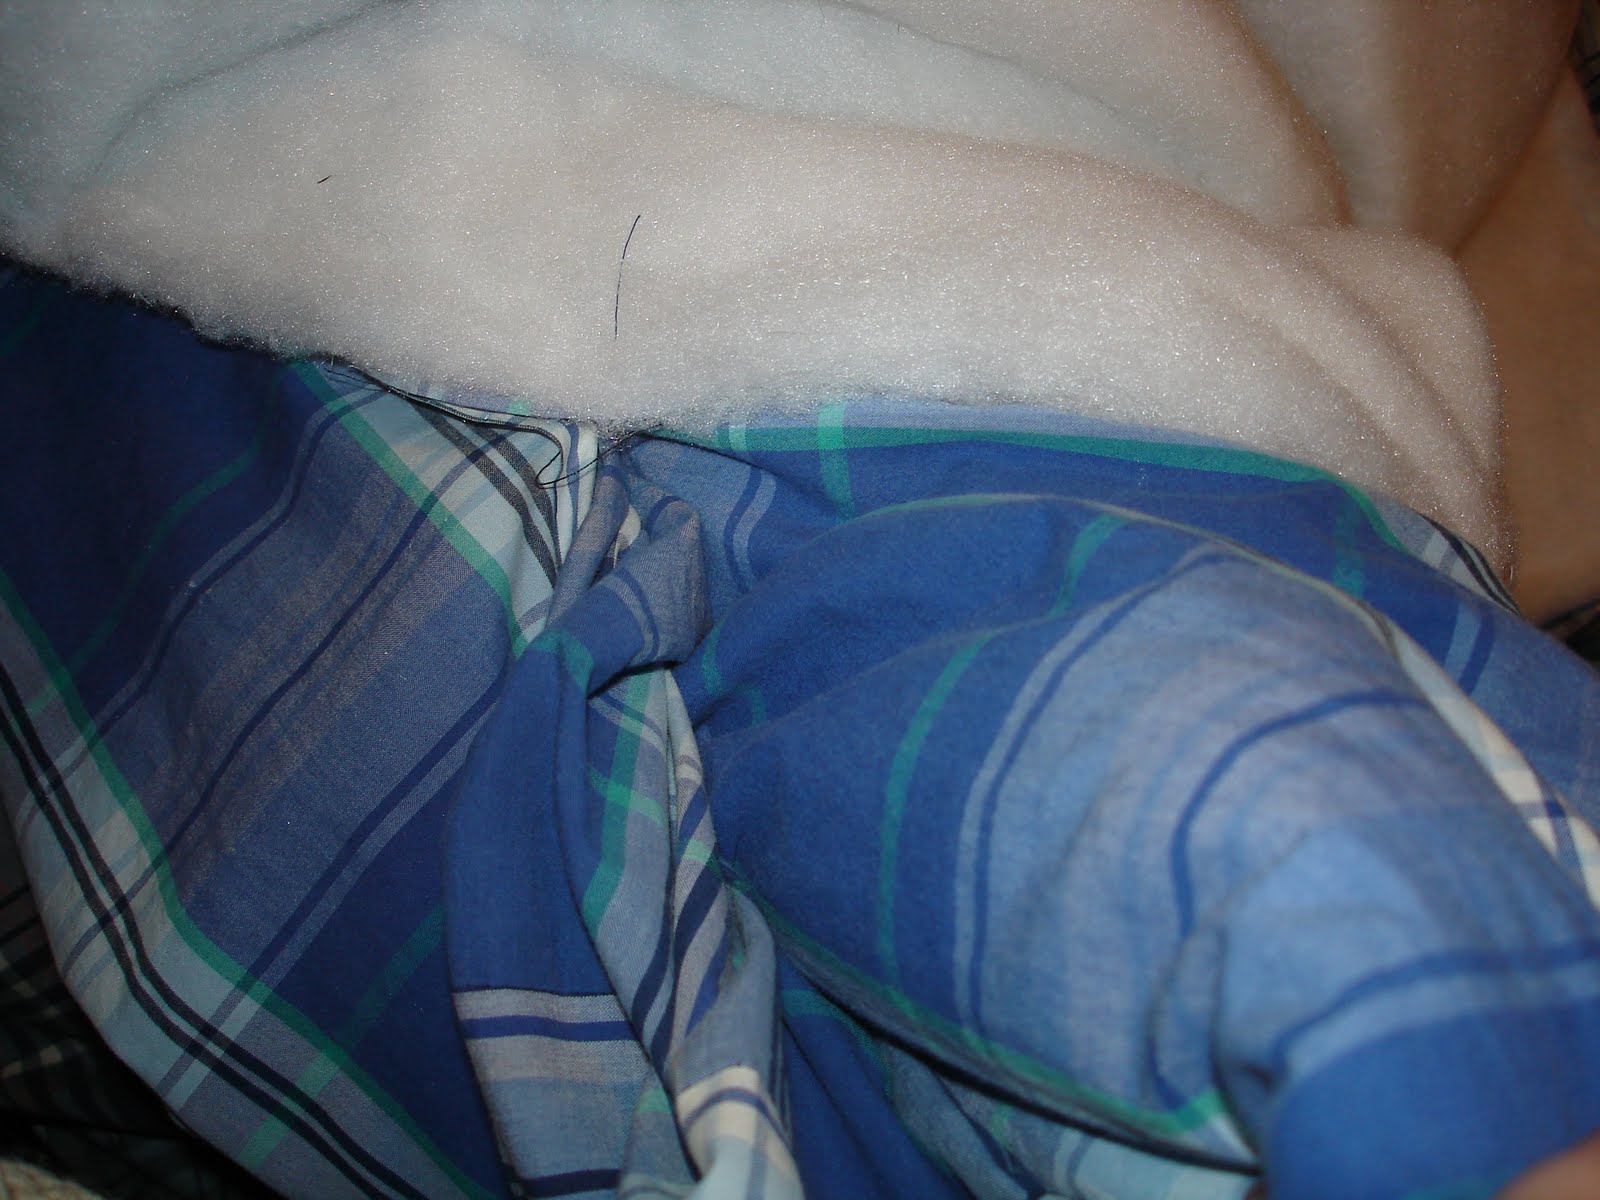
This quilt could be bigger than the last, based on the size of the batting, which was 45" x 60". I found the biggest intact piece of fabric that I could, and was surprised to be able to get a whole side out of it.


The second side had to be pieced, which was difficult to do with such big pieces. As before, I wanted to patch up some little holes or weak spots (proto-holes) in the fabric, but sewing patches through all three layers of quilt seemed more difficult this time, because of the high-loft batting. This was also an opportunity to add a bit more padding, as well as to use up bits of batting I've been squirreling away for years.


I covered pieces of batting (or in one case, thick felt) with pieces of fabric cut about 1/2" bigger all around, folded the edges under, and used a zigzag stitch along the edge to attach them to the quilt top and bottom in the right places.


I really liked the way this came out, all zigzaggy and patchy patchy.


Then it was time to rassle with the batting. I was excited about the batting, because it was going to produce a comfy, super-warm quilt. Getting it out of the package and unrolled was about when I started realizing that high-loft polyester batting is evil.

I set everything up in order (bottom layer face-up, top layer face-down, then the batting), trimmed the last edge of the pieced side along with the batting, and things started to seem to go off the rails at this point.


Eventually the three layers were pinned together.


High-loft batting probably is easier to work with when it's sandwiched between a couple layers of fabric as in a traditional bound quilt. The envelope construction was probably faster than binding would have been, but it was painful. Unless I pushed all the fibers down under the foot, the edges of the foot would catch on the top bit and pull the batting apart. And the pins basically disappeared into it. Bleh.

Left a turning hole, turned it right-side out (also easier said than done), and hand-sewed the opening closed.


Then I machine-sewed around the edges, about half an inch in, which was not the most successful maneuver because the main seam isn't anywhere near centered, but at least the edges were tacked down. It was at this point that I started aiming a bit lower for the project, because the unpleasantness of accepting a less-than-perfect-looking edge seemed a better alternative than ripping it out and doing it again.

Then. Oh, then.

The first quilt I'd quilted by sewing patches through, quilting random squares over the plaid pattern here and there, and then quilting a couple straight lines from one edge of the quilt to the other. The name of this game, I thought, was getting the quilting done quickly because the floors are getting pretty cold and Mr. Stink Dog shouldn't have to endure hip pain all the time. So I started to just quilt a straight line from one end to the other, and quickly learned why tying is recommended for high-loft batting quilts.

This stuff slides all over the place. Even with a walking foot and pins everywhere, this stuff shifts.

So I ripped that out and regrouped. Decided to quilt small squares in the plaid pattern. Pinned appropriately, then fought with the first five or so squares because getting to the outer edge of the quilt required having the rest of it bunched up between the machine and needle.


Then I took a break to price middy-arm sewing machines and dream about a mythical sewing machine that's not on a frame, but is just a bit wider. Got smarter and started quilting half a square at a time, so that I could always be working on the outer edge. (This did leave me with four thread ends to deal with instead of two, but the effects of that were less immediate than the unpleasantness of trying to jam the quilt into the machine to do all four sides in one go.)

After doing a bunch more squares, I quit for the night. The next night I did a bunch more, and quit again, baffled and enraged that I wasn't done with the damn squares yet.

Then the next night (that I worked on it... I may have taken an angry break), I finished the damn squares. Held it up triumphantly and immediately saw that it wouldn't be a sufficient amount of quilting.

That's when I decided that regular tying, rather than the modified tying I'd made up (quilting independent little islands) would be the way to get this finished and quilted sufficiently to maybe keep its shape for a while. So, with three strands of embroidery thread and over the course of many, many episodes of House, I put ties at most of the intersections of the plaid that hadn't been quilted around and other random places that seemed to not have enough quilting near them. I alternated tying and securing/burying the ends of the quilting that were just everywhere. I probably could have tied several more points on the quilt, but I'd been feeling done with the project for a while, so I called it quits.


Usually when I finish a project, I'm pretty excited to have this new thing and proud to put it to use. When I finished this one, I was just gleeful to not have to work on it anymore.


It was gratifying, though, when both dogs, given the opportunity, laid down on it immediately. Stink was disappointed that it did not come with a turkey dinner, including stuffing, cranberry sauce, three vegetable sides, and home-baked rolls, but he'll get over it eventually.

The worst part of this story is that while I spent hours watching House and tying it, I realized how warm and delightful this blanket is. And I kind of want to make one for the humans. Maybe if I just start with the plan to tie it, the unpleasantness won't be a surprising unpleasantness.